Cisco Catalyst 2960-X factory reset and firmware upgrade
Some time ago, I got a second-hand Cisco Catalyst 2960-X-48TS-L switch for a good price. I’ve never had a chance to use Cisco appliances, so I thought it would be a good chance to learn their software. At first, I was a little bit lost due to a large amount of information scattered all around the Internet, so I thought I’ll write a step-by-step guide.
The switch was used previously, so I had to restore it to factory defaults. There are two ways to do it: either by resetting the switch using the MODE button or by IOS command line. To reset by button: turn on the switch and wait until switch is fully booted — it’s indicated by green LEDs “SYST”, “STAT” and “MAST”. Then press the MODE button until the LEDs start blinking. The switch will then restart, erasing the configuration. To erase the config using the command line you’ll have to use serial console cable (and probably a RS-232 to USB converter) and know the privileged EXEC password. To connect to the serial port I recommend using picocom.
picocom -b 9600 -g logfile.log /dev/ttyUSB0
Then you can erase the config:
> enable
# write erase
# delete vlan.dat
# reload
Switch will now reboot. You can then connect to its serial console and an automatic configuration wizard will run. You’ll be asked a couple of questions to configure the switch — set the hostname (whatever you like), set the passwords (something non-trivial), set the management interface (vlan1), configure SNMP (I do not have experience with that, so I skipped it, if you need it, you probably know how to configure it).
Next, I had to upgrade the firmware. The switch probably hasn’t been upgraded before. It had a web interface that was a couple of years old and required Internet Explorer (although it worked just fine when I spoofed the user agent).
To upgrade the switch I had to download the firmware from here.
This is the latest release at the time of writing this post (December 2019). I’ve decided to upgrade full image, including the web interface, so the method in this post will do exactly that. If you want to install only IOS version, you’ll need to use copy command, instead of archive.
You’ll need to set up a TFTP server to host the image and TFTP server has to be reachable from the switch. Then, log in to the switch through console and run:
# archive download-sw /overwrite /reload tftp://192.168.0.100/c2960x-universalk9-tar.152-7.E1.tar
Where 192.168.0.100 is the TFTP server’s IP and c2960x-universalk9-tar.152-7.E1.tar is the firmware filename.
The upgrade process will take a while, but finally the switch will reboot.
There are still some things left to configure. The switch will, by default, try to download configuration from TFTP server. This will fail with an error message saying
%SYS-4-CONFIG_RESOLVE_FAILURE: System config parse
from (tftp://255.255.255.255/network-confg) failed
Since the configuration is not available there, we will have to disable that.
# configure terminal
(config)# no service config
(config)# exit
# write memory
Next, we have to disable telnet access and only allow ssh access.
# configure terminal
(config)# ip domain-name yourdomain
(config)# crypto key generate rsa
How many bits in the modulus [512]: 4096
(config)# ip ssh time-out 60
(config)# ip ssh authentication-retries 4
(config)# username cisco password YOURPASSWORD
(config)# line vty 0 15
(config-line)# transport input ssh
(config-line)# login local
(config-line)# logging synchronous
(config-line)# motd-banner
(config-line)# ^Z
# write memory
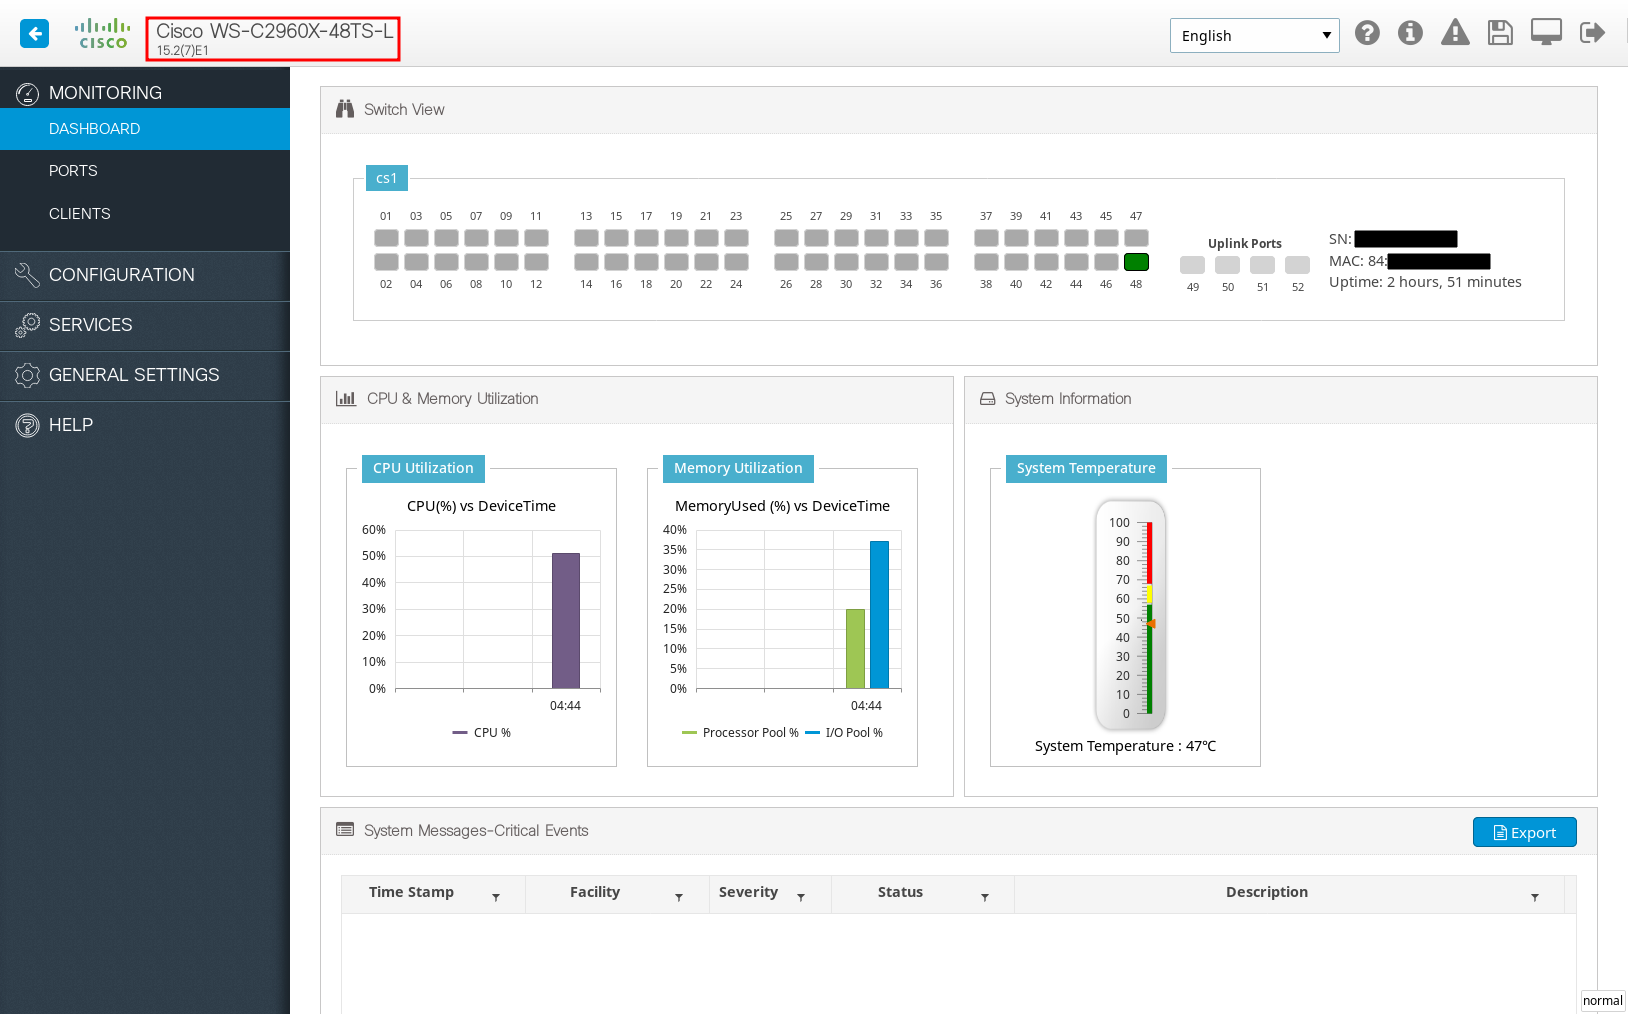
Now, you should have a Cisco switch running the fresh firmware. Even the web UI does not require you to run an ancient version of Internet Explorer to access it. ;)
